Mastering Fashion Photography Lighting: Tips & Techniques
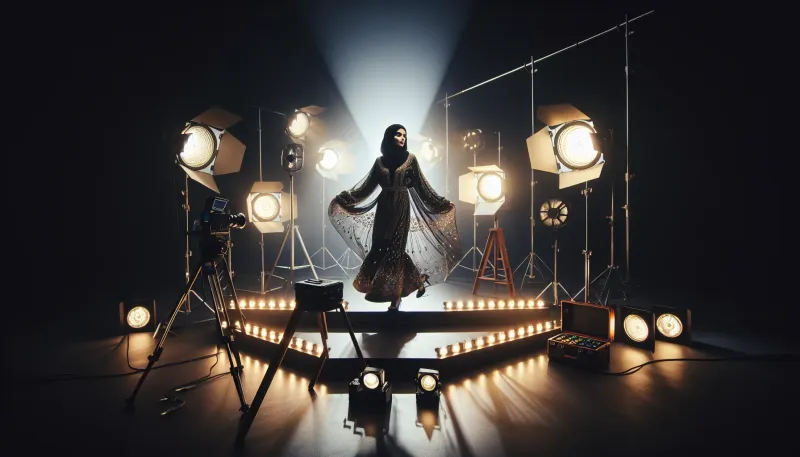
Discover essential tips and techniques for mastering fashion photography lighting to elevate your photographs.
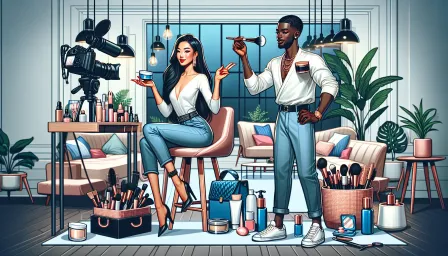
Fashion photography is an art form that relies heavily on lighting to create visually stunning images. Proper lighting can make or break a photograph, setting the mood, highlighting the model, and showcasing the garments in the best possible way. In this article, we will explore essential tips and techniques for mastering fashion photography lighting, ensuring your photos achieve a professional quality that stands out.
Understanding the Basics of Fashion Photography Lighting
1. The Importance of Lighting
Lighting is the cornerstone of fashion photography. It shapes the subject, creates depth, and highlights texture and color. Understanding how to manipulate light can transform an ordinary photograph into a work of art.
2. Types of Lighting
There are several types of lighting setups that photographers commonly use in fashion photography:
- Natural Light: Utilizing sunlight, either directly or indirectly, to illuminate the subject. It provides a soft and flattering glow but can be unpredictable.
- Studio Lighting: Controlled lighting setups using tools such as softboxes, strobes, and continuous lights. This method allows for precise control over light placement and intensity.
- Mixed Lighting: Combining natural and artificial light to achieve the desired effect, offering both flexibility and creative possibilities.
Essential Lighting Techniques for Fashion Photography
1. Key Light Placement
The key light is the primary source of illumination for the subject. It sets the tone and highlights important features. A common practice is to position the key light at a 45-degree angle to the model, creating natural and flattering shadows.
2. Fill Light
The fill light is used to reduce shadows created by the key light, ensuring a balanced exposure. It is softer and less intense than the key light, often placed opposite to it and at a similar height. Reflectors can also serve as fill lights by bouncing light back onto the subject.
3. Back Light
The back light, or rim light, is placed behind the subject to create a separation between the model and the background. It adds depth and a three-dimensional quality to the image. Careful positioning and intensity control are crucial to avoiding an overpowering effect.
4. Hair Light
A hair light specifically illuminates the hair, adding shine and detail. It is typically placed above and slightly behind the model, aimed downward to highlight the hair without casting harsh shadows on the face.
Advanced Techniques for Creative Lighting
1. High-Key and Low-Key Lighting
High-key lighting involves using bright and even illumination, with minimal shadows, creating a light and airy feel. Low-key lighting, in contrast, uses predominantly dark tones and selective lighting to create a dramatic and moody atmosphere.
2. Color Gels
Color gels are colored filters placed over lights to add a creative flair to the image. They can be used to change the mood, highlight specific areas, or emulate specific lighting conditions like a sunset.
3. Light Modifiers
Modifiers like softboxes, umbrellas, and diffusers can alter the quality of light, making it softer or more focused. Experimenting with different modifiers allows photographers to achieve various textures and effects, enhancing the overall impact.
4. Using Reflectors
Reflectors bounce light back onto the subject, filling in shadows and creating a more even light distribution. They are versatile and economical tools for manipulating light, available in different colors (white, silver, gold) to achieve different effects.
Troubleshooting Common Lighting Issues
1. Overexposure and Underexposure
Balancing light intensity is key to avoiding overexposure (too much light) and underexposure (too little light). Adjusting the power of your lights, using light modifiers, and monitoring histograms can help achieve the right exposure.
2. Unwanted Shadows
Shadows can add depth but unwanted shadows may detract from the image. Adjusting light angles, using fill lights, and employing reflectors can help control and eliminate unwanted shadows.
3. Color Temperature Mismatches
Different light sources have varying color temperatures, which can result in color casts. Using color correction gels and custom white balance settings on your camera can harmonize color temperatures, providing consistent and natural tones.
4. Harsh Lighting
Harsh lighting creates hard shadows and highlights. Softening the light with diffusers or softboxes, and increasing the distance between the light source and the subject, can mitigate harshness for a more flattering appearance.
Conclusion
Mastering fashion photography lighting is crucial for producing high-quality images that captivate viewers and showcase fashion in its best light. By understanding the basics, employing essential techniques, experimenting with creative lighting, and troubleshooting common issues, photographers can enhance their skills and create stunning photographs. With practice and dedication, you can transform your fashion photography, ensuring each image tells a compelling and visually stunning story.


